Overcome Your Gut + Digestive Issues With Ancestral Nutrition
Bone Broth
There is an ancestral principle called “like heals like.” Meaning eating bones gives you stronger bones, eating heart improves your heart health, eating eyes improves your eyesight, and so on.
This principal holds true in modern science. Bones for example are rich in collagen, calcium, phosphorus, vitamin D, vitamin K2, magnesium, potassium, and manganese. These are the main nutrients that make up your bones so it makes sense that consuming bones would improve your bone health.
And bone broth is an excellent way to consume bones! Bone broth also supplies your body with a wide variety of glucosamines and glycosaminoglycans (special molecules that help keep our bones healthy and protect our joints). They help repair damaged joints and stimulates the growth of new healthy collagen which provides structure, lubrication, and shock absorption.
According to Dr. Cate Shananahan, “Collagen isn’t just in your joints; it’s in bone and skin and arteries, and your hair, and just about everywhere in between. This means that glucosamine-rich broth is a kind of youth serum, capable of rejuvenating your body…” (1). It’s also very helpful for repairing a damaged gut lining and for healing from injuries.
To summarize the health benefits, bone broth:
- Improves joint health
- Improves bone health and bone density
- Prevents osteoporosis
- Rejuvenates skin and hair
- Helps heal a damaged gut lining
- Speeds up injury recovery
To learn more about the health benefits of bone broth, check out this article!
What Bones To Use For Broth:
I suggest using collagen rich bones like knuckles, joints, marrow bones, oxtail, chicken backbones, chicken heads, and chicken or pigs feet when making broth to get a jiggly collagen rich broth.
It’s also ideal to source your bones from grass fed, organic, free range, antibiotic free, and humanly raised animals. Bones are a tissue that bioaccumulates, meaning the bones store pesticides, heavy metals, and other toxins the animals are exposed to. Therefore to avoid leaching toxins into your broth, buy bones from a good source.
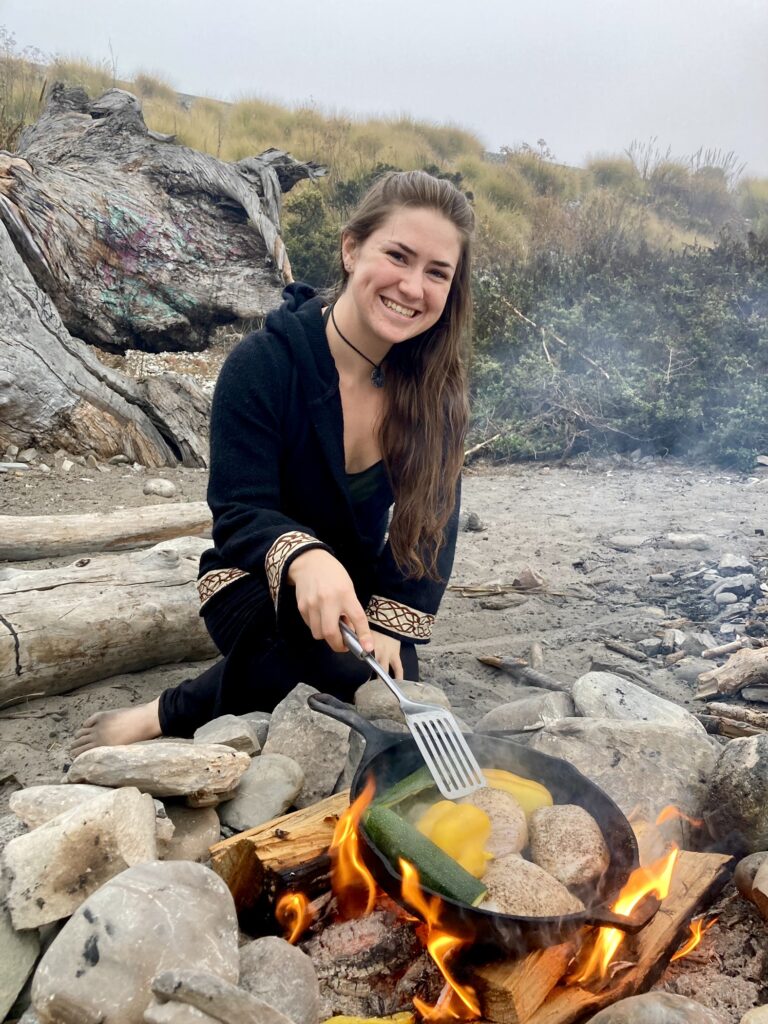
Today I want to share my bone broth recipe with you so that you can make your own and get all the amazing health benefits! I started making mine back in 2019 and have really perfected it. I think you’ll find the recipe to be very in depth and provide lots of helpful tips! Anyways, I hope you and your family enjoy this recipe as much as my family and I do!
With love from my kitchen to yours,
Kayley
Bone Broth
Place bones in a large pot and add enough water to cover by 1 1/2 inches. Don’t add too much to insure your broth is really collagen rich and not diluted. Then add the rest of the ingredients except salt and cover with a tight fitting lid. To avoid broth spilling over, make sure there is at least 1 inch of space from the top of the liquid and the top of the pot. This space and the tight fitting lid will help to minimize any water loss and therefore yield more broth.
Bring broth ingredients to a covered boil over high heat. Once boiling, reduce heat to the lowest setting and let simmer for several hours. I start mine first thing in the morning and end it about 1 1/2 hours before bed (to allow for cooling, storing, and cleaning time). This ends up being about 12 hours on the stove. I recommend a minimum of 9 hours but the longer you cook it, the richer taste and more nutrients you will get.
If your broth is still steaming a good amount on the lowest setting, I find it beneficial to alternate the low setting with turning the stove off completely. When you notice lots of steam coming from your broth turn it to off to avoid losing too much liquid. Once it calms down (after roughly 5-10 minutes), turn it back on and let it simmer on low (for roughly 10-30 minutes) till it starts steaming like crazy. Note its good for the broth to steam, its the excessive steaming where you can lose a lot of liquid. Use your own judgement along with experimentation to figure out how your stove works and if this methods benefits you or if you can just leave yours on low for the whole time.
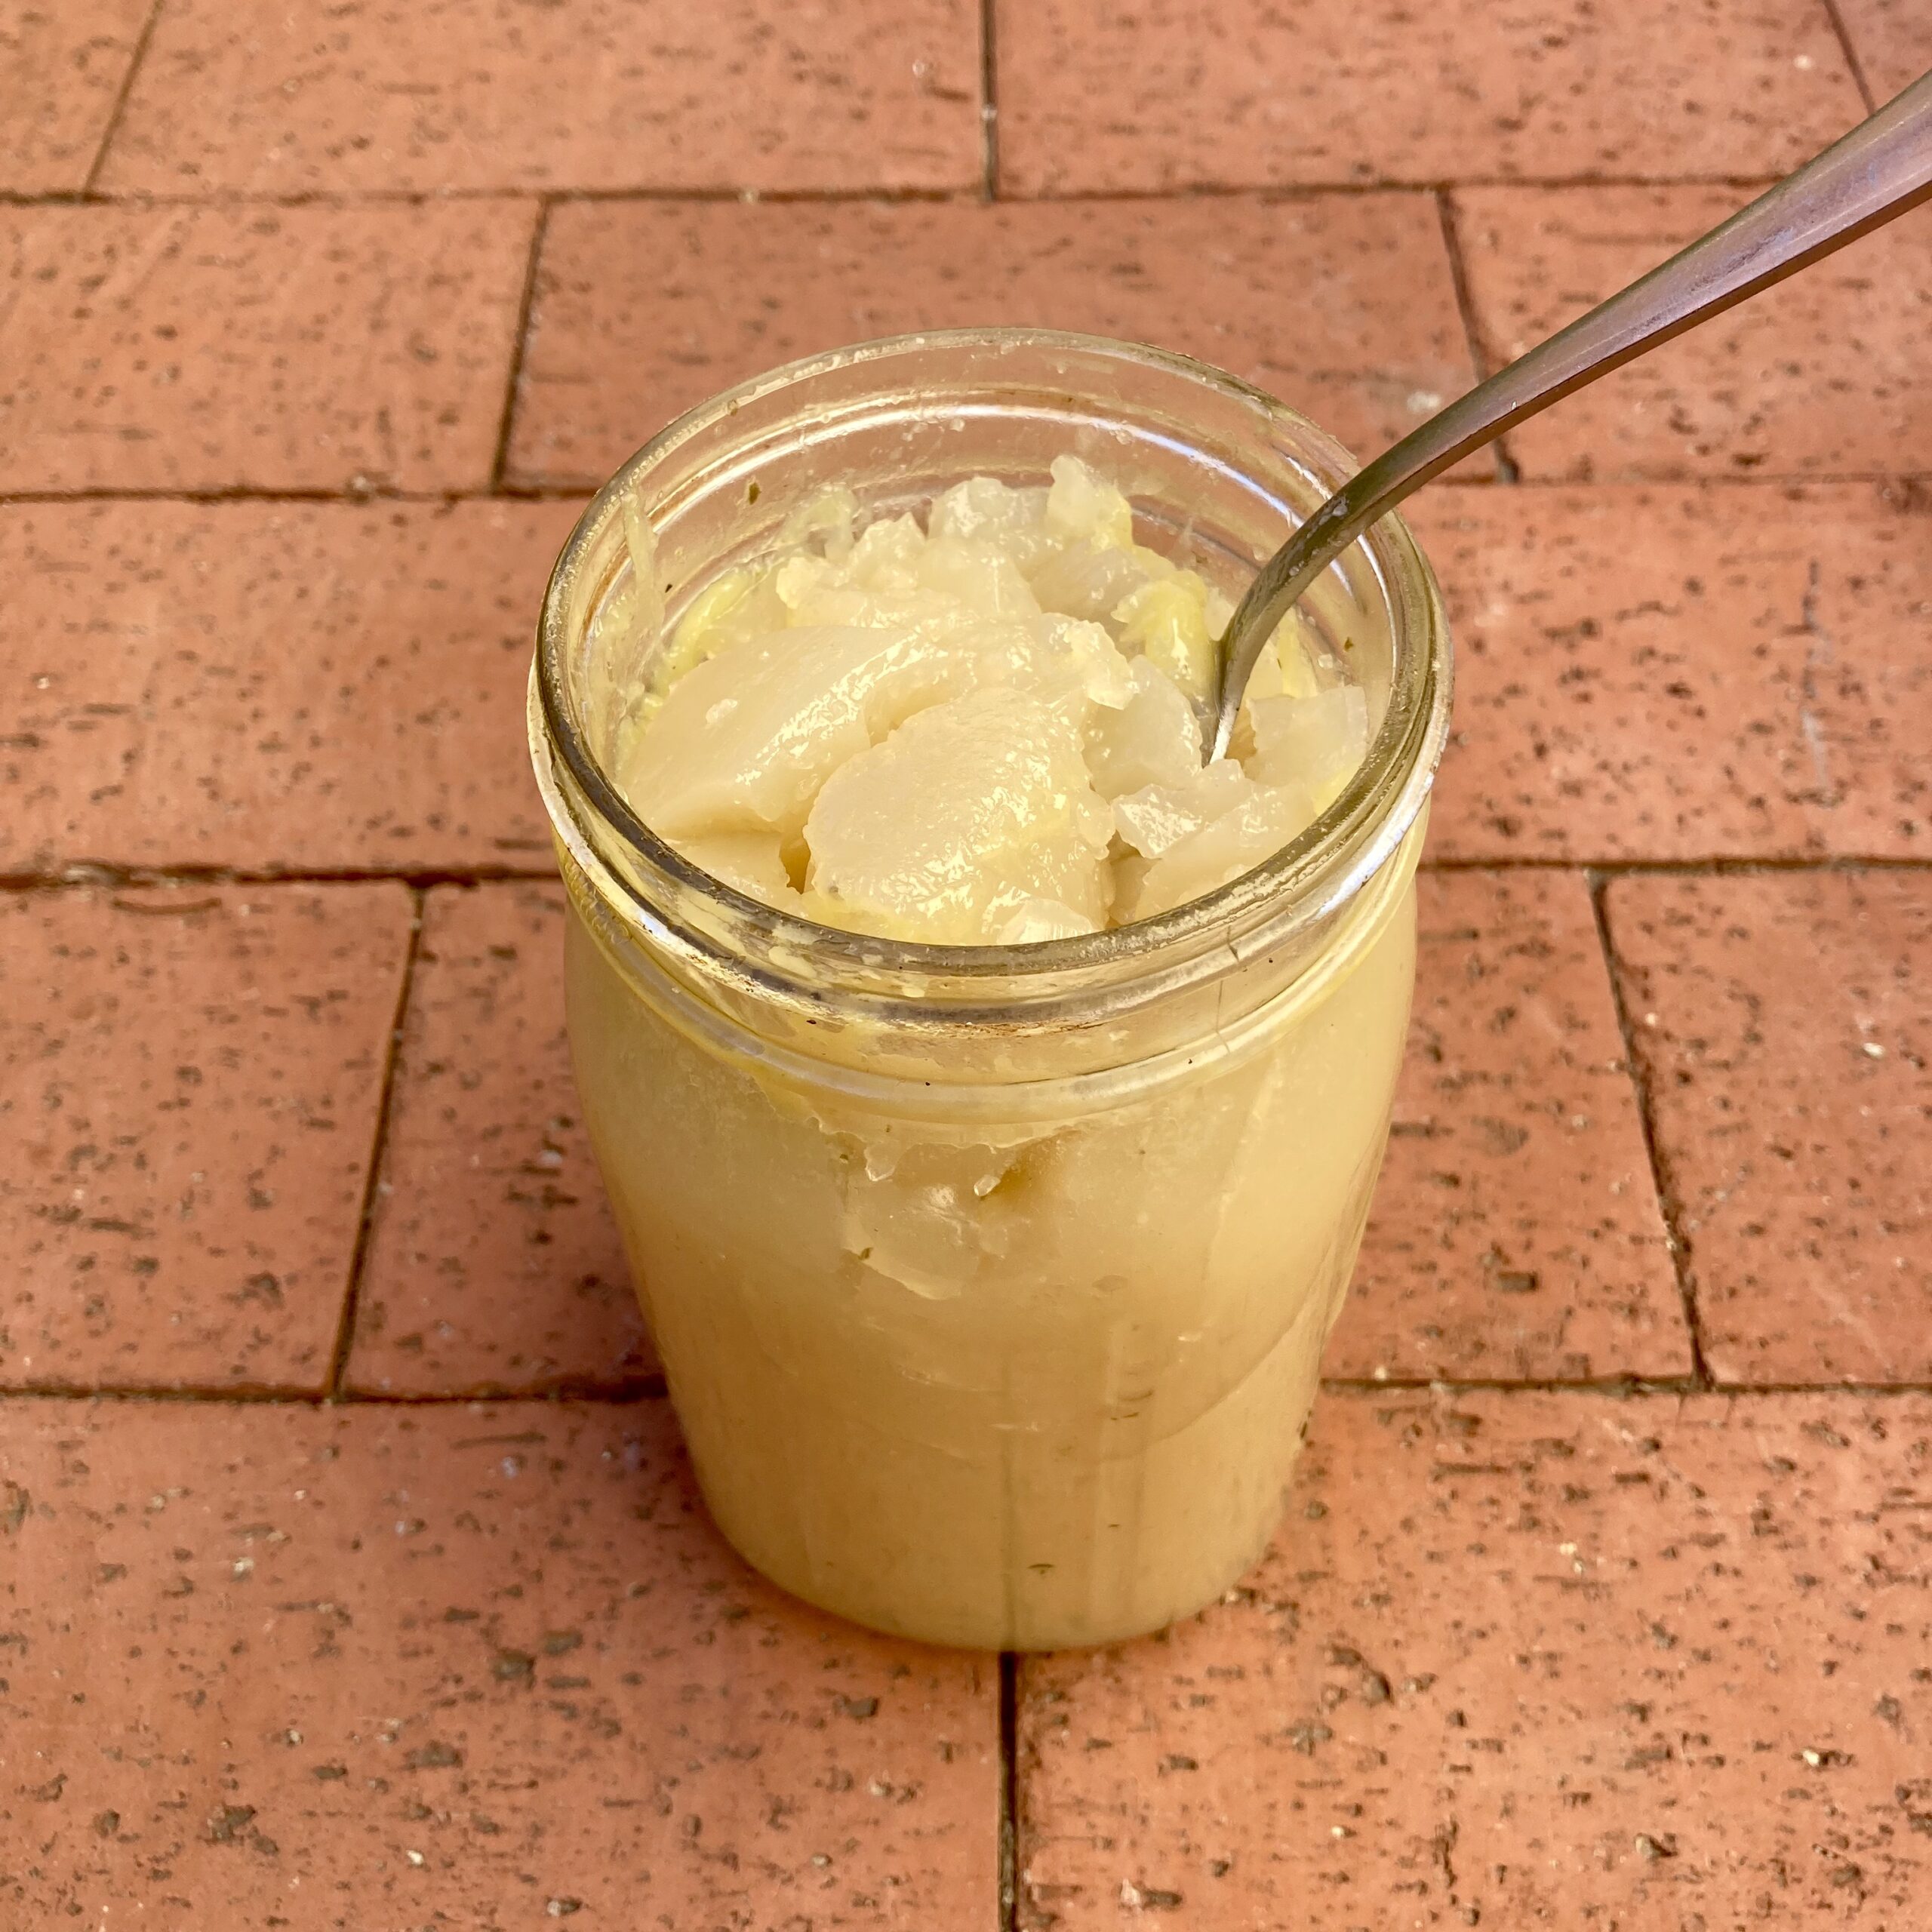
Once done, strain the broth. I usually strain my broth into a 1 quart measuring flask and then transfer it into jars to avoid spilling. After that let your jars of broth sit out on the counter to cool a bit and then transfer to the fridge.
Since bone broth will only keep in the fridge for about a week, keep however much broth you will use in the next week in jars in the fridge.
Freeze the remaining broth by pouring it into ice cube trays and muffin tins and placing in the freezer. Once frozen transfer the bone broth cubes and cups into ziplock bags or tuperwares and store in the fridge. The broth cups in the muffin tins can be a little harder to get out. Running warm water along the bottom of the tray can help loosen them. Depending on how many ice cube trays and muffin tins you have, multiple rounds of freezing might be necessary. If this is the case, put all the broth you plan to freeze in jars in the fridge, until you are ready to freeze it.
For drinking, heat up broth or broth cubes in a small sauce pan, add salt to taste, and enjoy! You can also use your broth in soups, to braise veggies in, and to cook rice or other grains in.
Ingredients
Nutrition:
| Ingredients | Calories | Fat | Carbs | Protein |
| 1 cup bone broth | 41 | 0.3g | 0.6g | 9.4g |
(2)
Works Cited
1. Shanahan, Catherine. Deep Nutrition. New York: Flat Iron Books. 2016. Print.
2. Nutritionix. Gladson. https://www.nutritionix.com/ Accessed 21 January 2019.
About Kayley
Kayley is a certified gut health nutrition coach who helps people to overcome their chronic gut and digestive issues at the root using the principles of ancestral nutrition and holistic health. (Continue Reading Here)

