Overcome Your Gut + Digestive Issues With Ancestral Nutrition
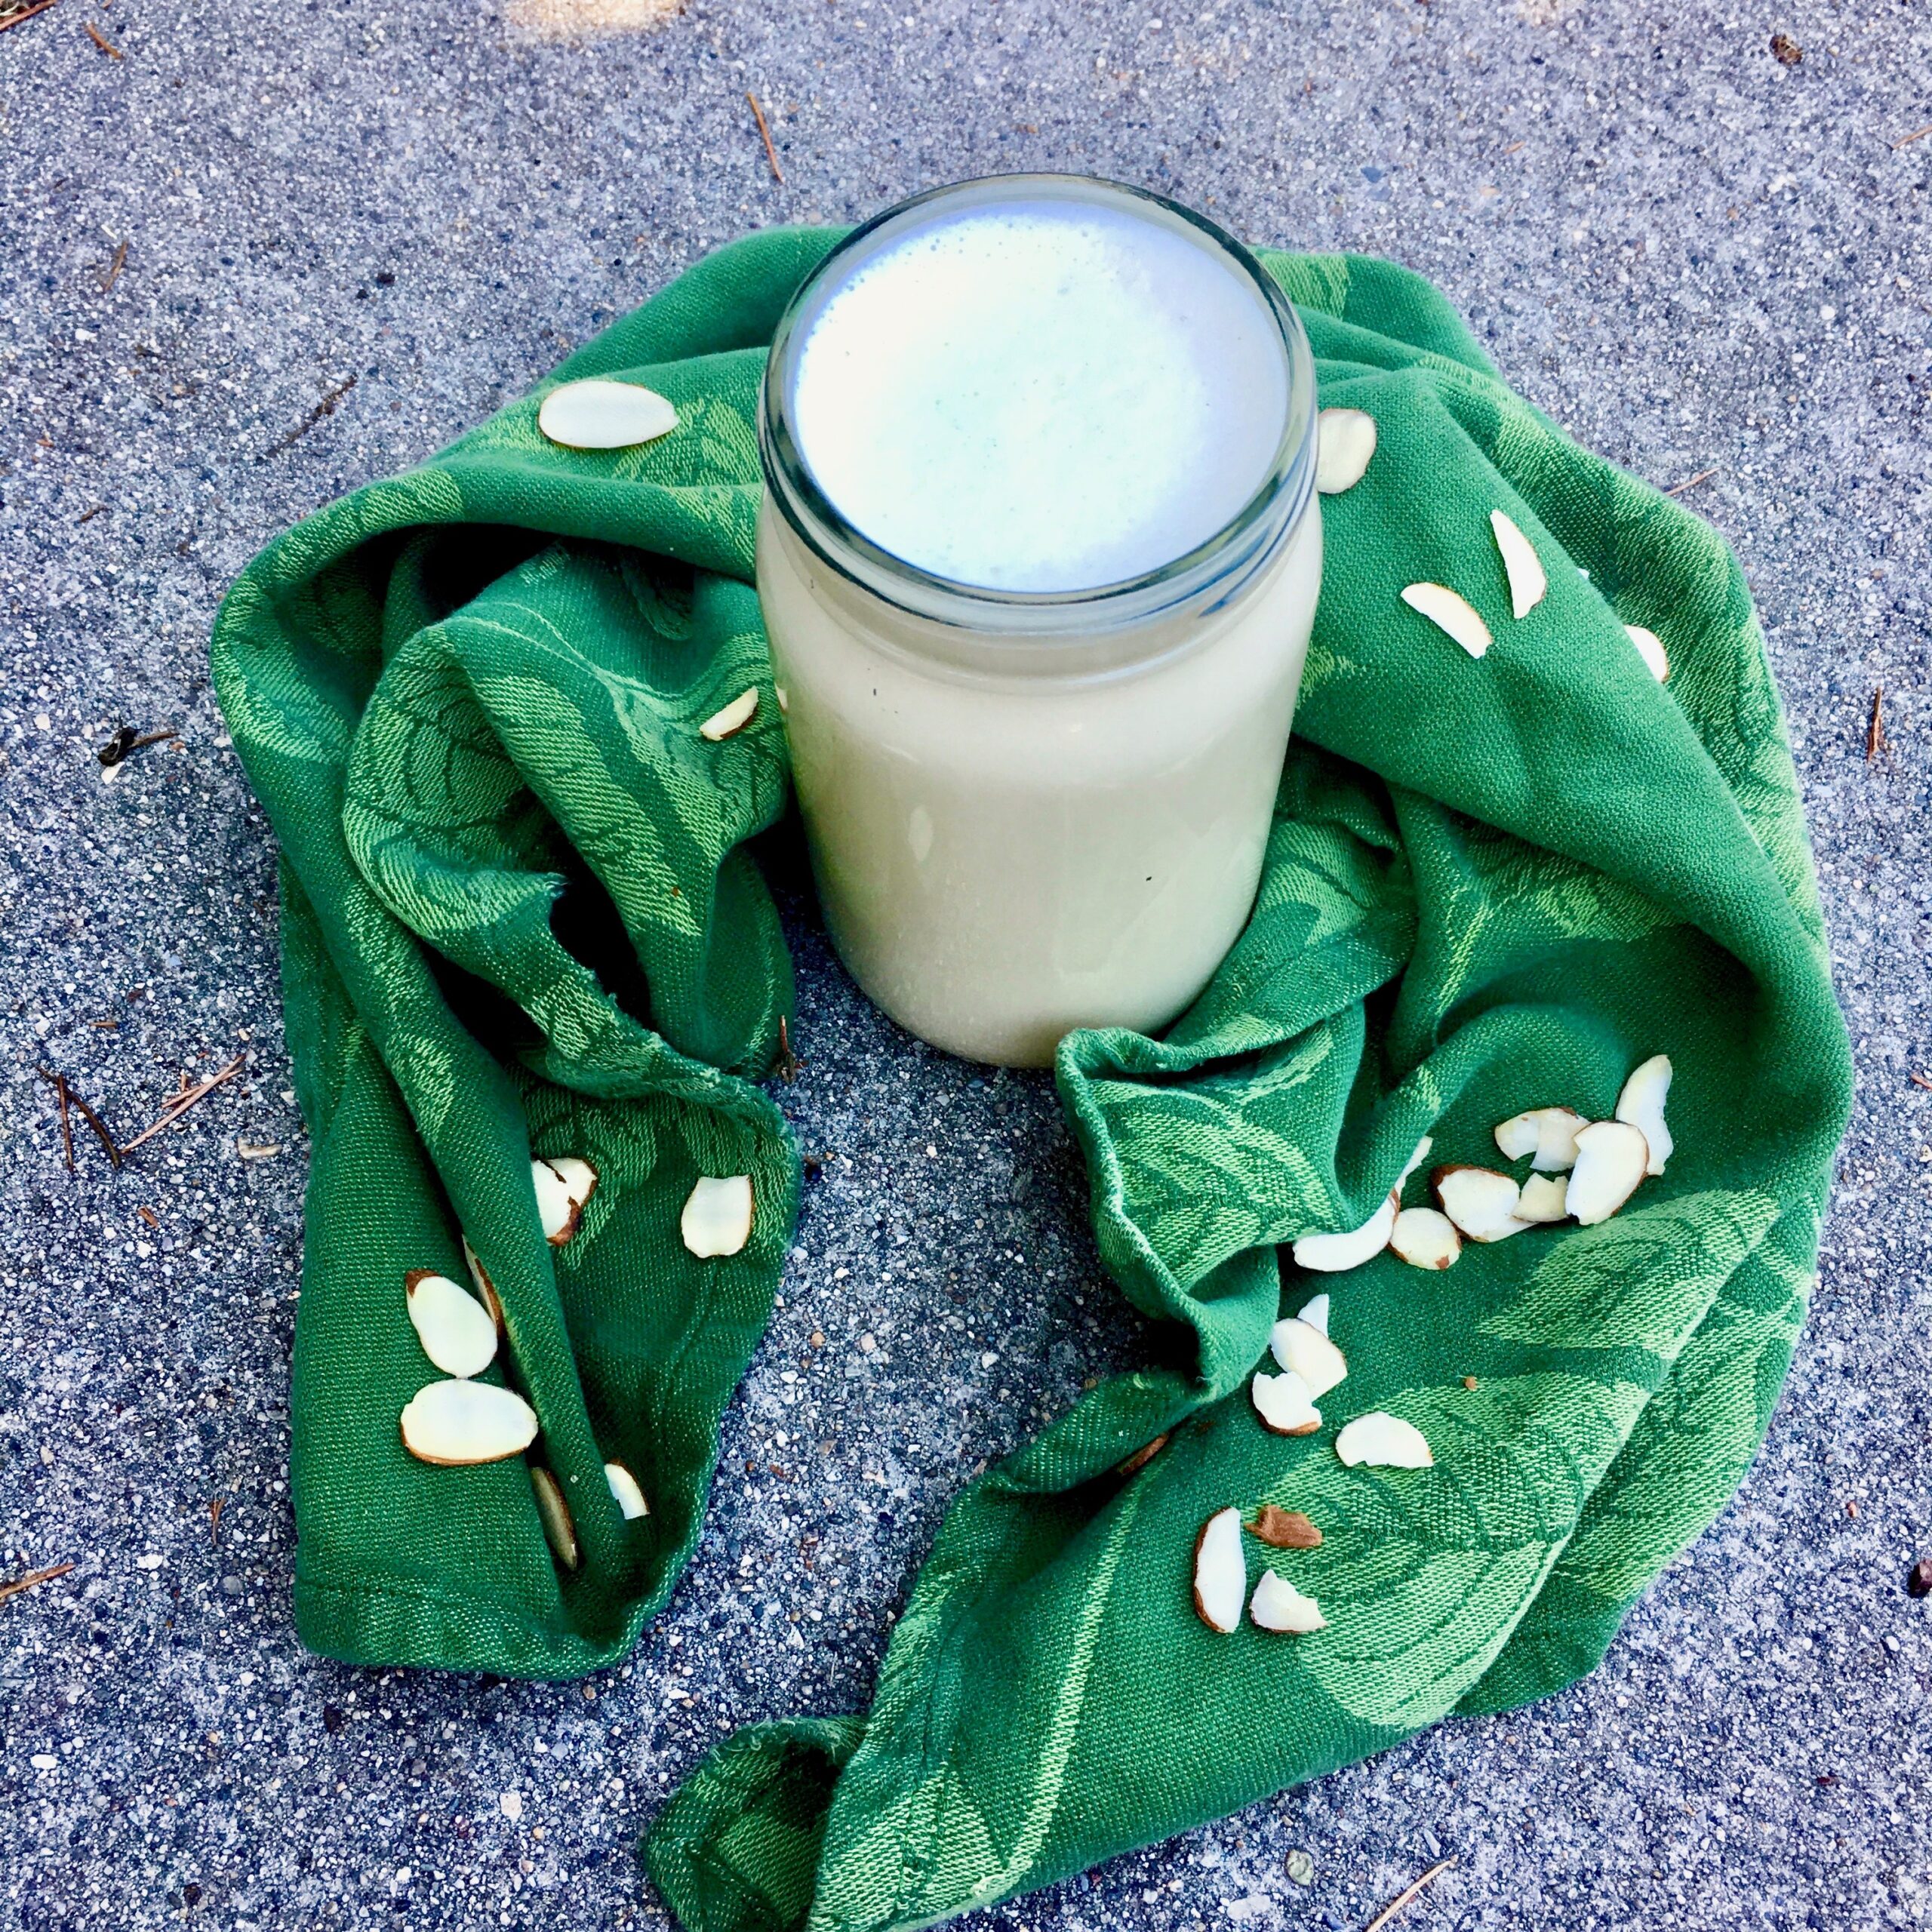
Homemade Almond Milk
Homemade almond milk, hmm, a lot of people might think why go through all that effort when you can just buy it at the store and that’s a fair point. I truly understand that there are lots of important things in life and making almond milk from scratch might not be at the top of everyones’ list. However if you are willing to put in about 15 minutes, you can make a delicious almond milk without all the preservatives and additives that store bought almond milks have.
Here’s what I mean. The almond milk recipe I am sharing with you today has almonds, water, and salt. Now here is a pretty average ingredient list for store bought almond milk:

A lot of the ingredients are fortified vitamins, but there is also natural flavors, sugar, and some other substances that I don’t even know what they do. Know that there are probably some companies that make much better almond milks, but I have found the majority to be similar to the one above.
Needless to say homemade almond milk is a much more natural whole food. If you prefer to know where all your ingredients come from and exactly what is in the food you eat, then homemade almond milk is likely a good option for you.
Now onto the process. It’s written simpler in the recipe section at the bottom so feel free to skip ahead, but if you would prefer more details and pictures continue reading this section.
Steps to Make Almond Milk:

1) Boil the almonds in a pot of water for 8-10 minutes. You can also soak them for several hours for a raw option, but I find boiling them easier since you don’t have to plan as far in advance.
2) Drain the almonds. Some people choose to peal the almonds after this. The past four or five years of making almond milk I used to always peal them, but recently I decided to try making it without pealing them. I found that it cut so much time out of the process and yields practically the same product. So I really really don’t think you need to peal them, I never do anymore.

3) Combine the almonds, water, and a pinch of salt in the blender and blend till smooth.


4) Strain the milk using either a nut milk bag or a fine mesh strainer. I’ve been making almond milk for 4 years now and I didn’t get a nut milk bag till recently. They are so easy to use and I love mine. It was also only like $8 including shipping. If you don’t have one, don’t worry, a fine mesh strainer will work just fine, I used one for years and it all worked out aye ok. The finer the better though, cause if it’s too coarse it won’t really strain anything out.

5) If you are using a nut milk bag, set the bag in a large measuring flask or bowl and pour the almond milk through into the bag. Then grab and twist the top so that no unstrained milk comes out the top and squeeze the almond milk through the bag. Once you have squeezed all the milk out, you will be left with a clump of dry almond pulp inside your nut milk bag. You can just compost or discard it. If you are using a metal strainer, fit the strainer over a jar or bowl so that it is firmly in place, pour some of the milk in and use a spoon to help push it through. Once you have pushed all the milk through and are left with a clump of almond pulp, discard the pulp, rinse the strainer, and repeat these steps till you have strained all of the milk.
6) Store the strained almond milk in a jar in the fridge and congratulations! You made your very own homemade almond milk!
Side Note: I found that my almond milk usually lasts about 5 days in the fridge. It has not gone bad if it separates that is a natural process that will occur. You will know if it has gone bad by the smell, if it smells bad, then its gone bad. I usually use most or all of it before that happens though. And if you don’t think you will use all 4 cups of almond milk in 5 days, you can always half or quarter the recipe.
Anyways I hope you enjoy this recipe!
With love from my kitchen to yours,
Kayley
P.S. Here are some recipes you might want to try out your homemade almond milk in:
- Cacao Cardamom Chia Pudding
- Creamy Steal Cut Oats with Caramelized Plums
- Strawberry Blueberry Banana Breakfast Bowl
- Chai Chia Pudding

Homemade Almond Milk
(makes 4 cups)
Start by placing the almonds for the almond milk in a pot and fill with water to cover the nuts. Bring to a boil over high heat. Once they begin to boil, reduce heat slightly to medium-high and let simmer for 8-10 minutes.
Next, drain the almonds and combine with 3 1/2 cups of water and a pinch of salt in the blender and blend till smooth. Once fully blended, grab a nut milk bag and a large bowl and carefully pour the almond milk into the bag over the bowl. Twist the top and squeeze to get as much of the liquid out as you can.
If you don't have a nut milk bag, no worries, grab a fine mesh strainer and a jar or container that fits it easily. Pour the milk through the strainer and use a spoon to push the excess liquid through. Scoop out the almond pulp and rinse the strainer in between pours. Repeat till you’ve strained all the milk. When done pour into a jar, store in the fridge, and enjoy! The milk keeps for about 5 days in the fridge. It has not gone bad if it separates that is a natural process that will occur. You will know if it has gone bad by the smell, if it smells bad, then its gone bad.
Ingredients
Nutrition:
| Ingredients | Cals | Fat | Carbs | Protein |
| 1 cup almonds | 826 | 72.4g | 28.2g | 30.4g |
| – 2/3 cup almond meal | 409.5 | 36.2g | 12.1g | 14.5g |
| total (4 cups) | 416.5 | 36.2g | 16.1g | 15.9g |
| 1 cup | 104.1 | 9.1g | 4.4g | 4g |
| 2 tbsp | 13 | 1.1g | 0.6g | 0.5g |
* This is how I calculated the nutrition; calories in almonds-calories in about 80-90% almond meal strained out (I did 80-90% because the almond meal strained out still has some water in it which adds volume). I got this idea from Andy Bellatti (the specific page where I got this from is not longer available).
* Nutrition is based on the products I use. I provide a nutrition table so that you can quickly check to see if your food products match or so that you can easily calculate the nutrition for any changes you want to make to the recipe. I think this helps if you have very specific diet goals and/or fitness and/or health goals. I also wanted you to be able to see exactly where I get the numbers for my nutrition facts so that you can see that they are reliable and learn more about macro breakdowns of food.
Works Cited
1. “Hidden Ingredients In Store Bought (Non Dairy) Milk Alternatives.” Healthy Taste of Life. 16 September 2017. https://healthytasteoflife.com/hidden-ingredients-store-bought-non-dairy-milk-alternatives/
2. “Nutrition Label of Almonds.” Trader Joes. Monrovia, CA, 2019.
3. “You Ask, I Answer: Nutritional Content of Homemade Almond Milk.” Small Bites. 2 April 2010. http://www.andybellatti.com/about.html
About Kayley
Kayley is a certified gut health nutrition coach who helps people to overcome their chronic gut and digestive issues at the root using the principles of ancestral nutrition and holistic health. (Continue Reading Here)

